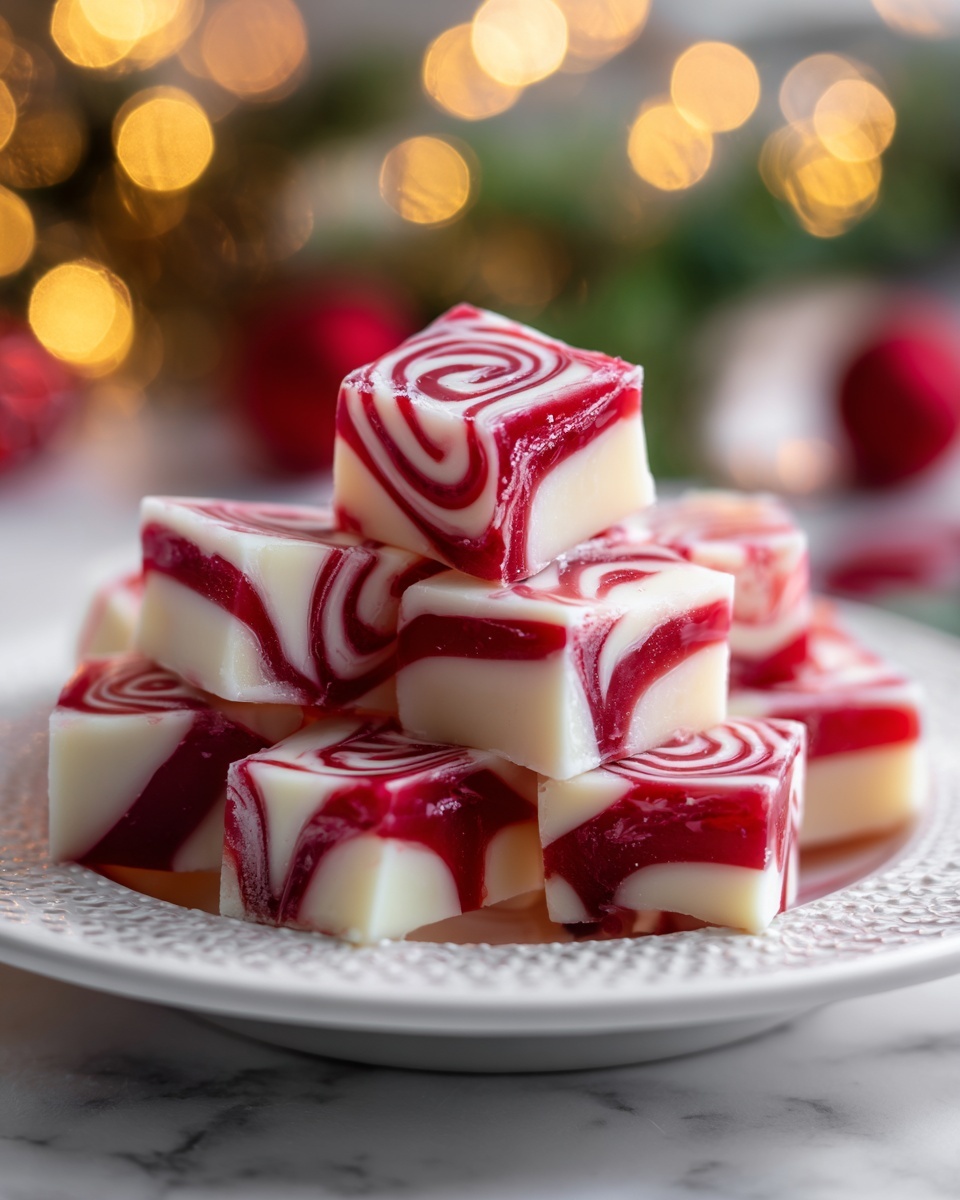
If you’re looking for a nostalgic treat that wraps you in cozy holiday memories, this Soft Christmas Peppermints (Old-Fashioned Butter Mints) Recipe is exactly what you need. These melt-in-your-mouth candies offer that perfect balance of creamy butter richness and refreshing peppermint spark, all swirled together in festive red and white twists. They’re simple to make, wonderfully charming, and a guaranteed crowd-pleaser that will add a touch of old-fashioned magic to your Christmas celebrations.
Ingredients You’ll Need
Ingredients You’ll Need
This Soft Christmas Peppermints (Old-Fashioned Butter Mints) Recipe requires just a handful of pantry staples, each playing a crucial role in creating those soft, buttery, and minty bites you’ll adore. From the creamy butter that forms the luscious base to the powdered sugar that brings sweetness and structure, every ingredient is essential for achieving the perfect texture and flavor.
- ½ cup butter, softened: This is the heart of the mints, providing smooth richness and that classic buttery taste.
- 3 cups powdered sugar: The sweet backbone that gives the mints their melt-in-your-mouth softness.
- 2 tbsp heavy whipping cream: Adds just the right amount of moisture and creaminess to bind the dough perfectly.
- ¼ tsp peppermint extract: Delivers the refreshing, zingy peppermint flavor; adjust to your taste preference.
- Red gel food coloring: Brings that festive holiday color and a playful twist to your candy creation.
How to Make Soft Christmas Peppermints (Old-Fashioned Butter Mints) Recipe
Step 1: Beat the Butter
Begin by beating the softened butter in a mixing bowl until it’s light, fluffy, and creamy. This step is vital to create a smooth base that will blend effortlessly with the other ingredients, ensuring your mints have that irresistibly soft texture.
Step 2: Add the Rest
Slowly incorporate the heavy whipping cream, powdered sugar, and peppermint extract into the butter, mixing continuously. Beat everything together until the dough becomes firm yet smooth—this consistency is what will give your mints that signature buttery melt without being crumbly or overly hard.
Step 3: Divide and Color
Next, divide the dough into two portions. Leave about three-quarters of it plain and white. To the remaining quarter, knead in a few drops of red gel food coloring until the color is evenly blended. This step will give you the charming red and white doughs that are perfect for festive twists.
Step 4: Roll and Twist
Roll small portions of each colored dough into ropes of equal size and twist them together gently but firmly. Pinch off small sections from the twisted ropes to create individual mints. This hands-on step is fun and allows you to get playful with shapes and sizes if you like.
Step 5: Dry and Set
Allow your twisted mints to air dry for 1 to 2 hours so they firm up a little. Then, cut any longer pieces into bite-sized candy mints. Let these rest and dry at room temperature for about 24 hours for the best texture—soft but set enough to hold their shape and deliver that melt-in-your-mouth experience.
How to Serve Soft Christmas Peppermints (Old-Fashioned Butter Mints) Recipe
Garnishes
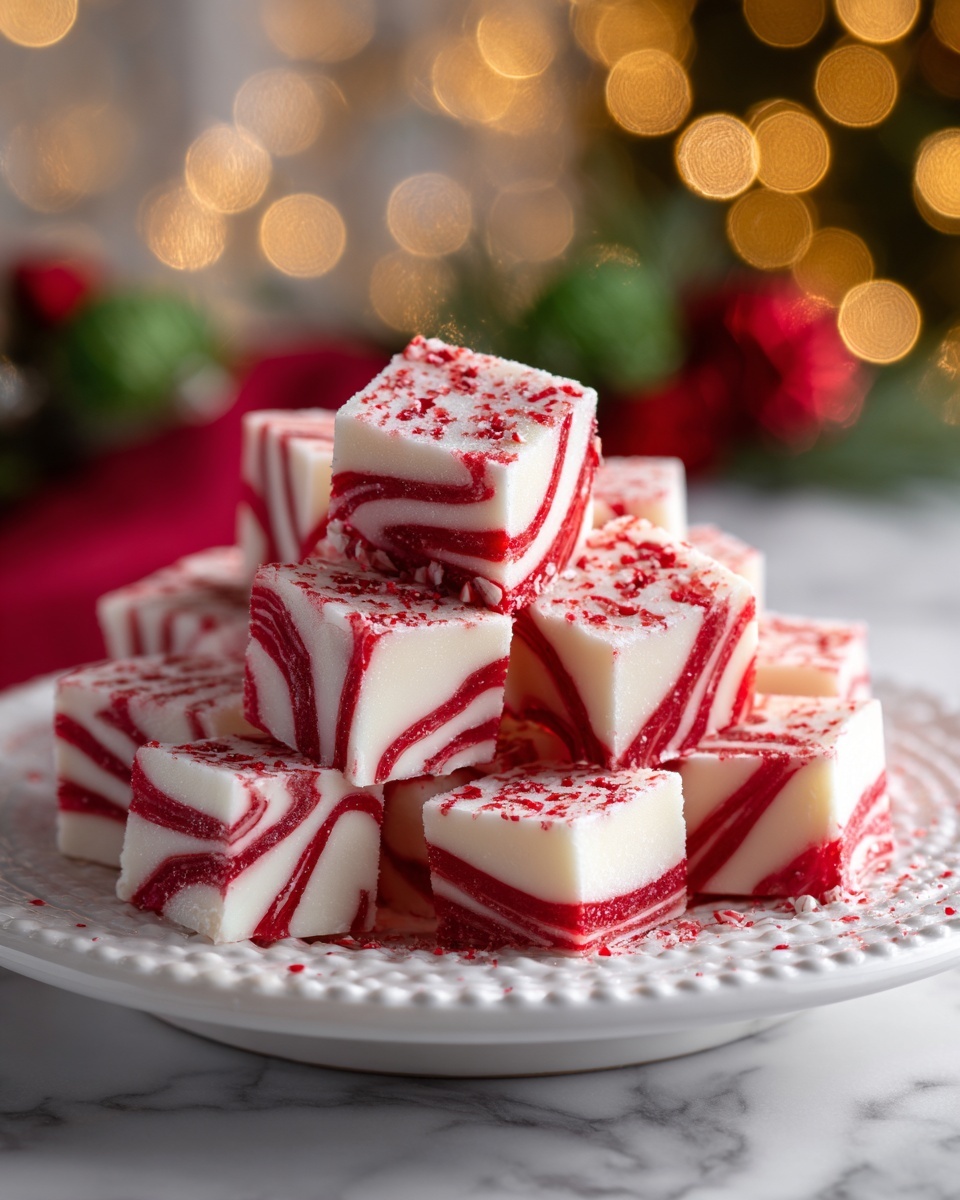
These Soft Christmas Peppermints (Old-Fashioned Butter Mints) shine brightest when presented with simple garnishes. A sprinkle of crushed candy canes or a few peppermint leaves alongside the mints on a serving tray adds color and enhances the minty aroma, giving guests that festive holiday vibe before the first bite.
Side Dishes
Pair your buttery mints with a hot cup of cocoa, spiced tea, or even coffee for a delightful contrast between warm drinks and cool, soft candies. They also make a wonderful accompaniment to rich holiday desserts like chocolate yule logs or fruitcakes, balancing sweetness and refreshing your palate.
Creative Ways to Present
Turn your Soft Christmas Peppermints (Old-Fashioned Butter Mints) into beautiful holiday gifts by packaging them in small clear cellophane bags tied with festive ribbons. Or arrange them in glass jars on your dessert table to add that classic old-fashioned charm. For parties, you can even display them in vintage candy dishes—nostalgia with every bite!
Make Ahead and Storage
Storing Leftovers
After your Soft Christmas Peppermints (Old-Fashioned Butter Mints) have fully dried, store them in an airtight container at room temperature. This keeps them soft and flavorful for up to two weeks, so you can enjoy their buttery peppermint goodness well beyond the holiday weekend.
Freezing
If you want to make a larger batch, these mints freeze wonderfully. Place them in a sealed freezer bag or container, and they will keep for up to three months. When you’re ready to enjoy, simply allow them to thaw at room temperature—no microwave needed to preserve that soft texture.
Reheating
Since these mints are best enjoyed soft and cool, reheating is not necessary. If they feel slightly firm from storage, just letting them sit at room temperature for a bit brings them back to their perfect buttery, melt-in-your-mouth softness.
FAQs
Can I use other extracts besides peppermint?
Absolutely! While peppermint is traditional and refreshing, you can substitute with vanilla, almond, or even spearmint extract to create your own signature butter mint flavor. Just keep the quantity similar to maintain balance.
Why do the mints need to dry for 24 hours?
The drying period allows the mints to firm up so they hold their shape without becoming hard. It ensures the perfect soft texture that’s delicate yet stable when handled.
Can I make these mints vegan or dairy-free?
This recipe relies heavily on butter and heavy cream for its buttery softness, so vegan versions would require substitutions like vegan butter and non-dairy cream alternatives, which might affect the texture. Experimenting with those options could be fun, but results may vary.
How do I prevent the red dye from coloring the white dough?
Work carefully and wash your hands or utensils after handling the red dough. Using gel food coloring helps since it’s less runny than liquid dye, which reduces color transfer between doughs.
Can I shape these mints differently?
Definitely! While twisted ropes are classic and festive, you can also flatten the dough and cut it into shapes with small cookie cutters or roll bite-sized balls. Get creative to suit your holiday style.
Final Thoughts
There’s something so comforting about homemade peppermint mints, especially when they’re as delightfully soft and buttery as in this Soft Christmas Peppermints (Old-Fashioned Butter Mints) Recipe. It’s a simple, joyful way to add a personal touch to your holiday gatherings or gift-giving. Give it a try and spread some candy-coated happiness this season!
Print
Soft Christmas Peppermints (Old-Fashioned Butter Mints) Recipe
- Prep Time: 20 mins
- Cook Time: 0 mins
- Total Time: 1 hour prep plus 24 hours drying time
- Yield: 24 servings
- Category: Candy
- Method: No-Cook
- Cuisine: American
- Diet: Vegetarian
Description
These Soft Christmas Peppermints, also known as Old-Fashioned Butter Mints, are a festive, melt-in-your-mouth treat perfect for holiday celebrations. Made from a simple blend of butter, powdered sugar, and peppermint, with a touch of red gel food coloring for a classic candy cane look, these soft mints offer a smooth, creamy texture and refreshing peppermint flavor that can be shaped into fun twists or bite-sized pieces for gifting or party platters.
Ingredients
Ingredients
- ½ cup butter, softened
- 3 cups powdered sugar
- 2 tbsp heavy whipping cream
- ¼ tsp peppermint extract (adjust to taste)
- Red gel food coloring
Instructions
- Beat the Butter: In a mixing bowl, beat the softened butter until it becomes fluffy. This creates a light base for your mints.
- Add the Rest: Slowly mix in the heavy whipping cream, powdered sugar, and peppermint extract to the butter. Continue beating until the dough becomes firm and smooth, forming a pliable consistency that’s easy to work with.
- Divide and Color: Split the dough into two portions. Leave approximately three-quarters of the dough white and add red gel food coloring to the remaining one-quarter, mixing thoroughly to evenly distribute the color.
- Roll and Twist: Roll small portions of each colored dough into thin ropes. Twist the red and white ropes together to create a candy cane striped effect. Pinch off small sections from the twisted ropes to form individual mints.
- Dry and Set: Place the mints on a tray and let them air dry for 1 to 2 hours to start firming up. Then, cut the formed pieces into bite-sized mints if you haven’t already. Allow them to dry completely for 24 hours before serving to ensure they set properly and gain their characteristic soft, creamy texture.
Notes
- Adjust the amount of peppermint extract to taste for a stronger or milder peppermint flavor.
- Use gel food coloring for vibrant coloring that doesn’t affect the texture of the dough.
- Ensure butter is softened, not melted, to achieve the right consistency.
- Allow full drying time for best texture and longer shelf life.
- Store mints in an airtight container at room temperature to keep them soft and fresh.

