If you’ve ever dreamed of crafting your own homemade pizza that rivals your favorite pizzeria, this Classic Pizza Dough Recipe is exactly what you need. It’s wonderfully simple yet incredibly rewarding, giving you that perfect chewy yet crisp base that holds all your favorite toppings beautifully. Whether you’re a beginner or a seasoned home cook, mastering this dough will open up a whole new world of pizza possibilities, all from the comfort of your own kitchen.
Ingredients You’ll Need
The ingredients for this pizza dough are straightforward but each plays a crucial role in creating that ideal texture, flavor, and color. From the flour that builds the structure to the yeast that makes it rise, these essentials come together to form the foundation of your delicious pie.
- All-purpose flour: Provides the perfect balance of protein for a tender yet chewy crust.
- Active dry yeast: The magical agent that helps your dough rise and develop flavor.
- Granulated sugar: Feeds the yeast and adds a subtle sweetness to the crust.
- Warm water: Activates the yeast and hydrates the flour to form the dough.
- Olive oil: Adds richness and tenderness while helping the crust brown beautifully.
- Salt: Enhances all the other flavors and strengthens the gluten network for better texture.
How to Make Classic Pizza Dough Recipe
Step 1: Activate the Yeast
Start by combining warm water, granulated sugar, and active dry yeast in a mixing bowl. Give it a gentle stir and place it aside for 5 to 10 minutes until it becomes frothy on top. This frothy layer means your yeast is alive and ready to work its magic on your dough.
Step 2: Prepare the Dry Ingredients
While the yeast activates, sift the all-purpose flour and salt into a separate bowl. Sifting not only helps incorporate air for a lighter dough but also ensures the salt is evenly distributed, preventing any salty pockets in your pizza base.
Step 3: Combine Ingredients
Create a well in the center of the flour mixture and pour in the activated yeast mixture along with the olive oil. This technique helps to gradually bring the liquids and dry ingredients together while keeping your workspace tidy.
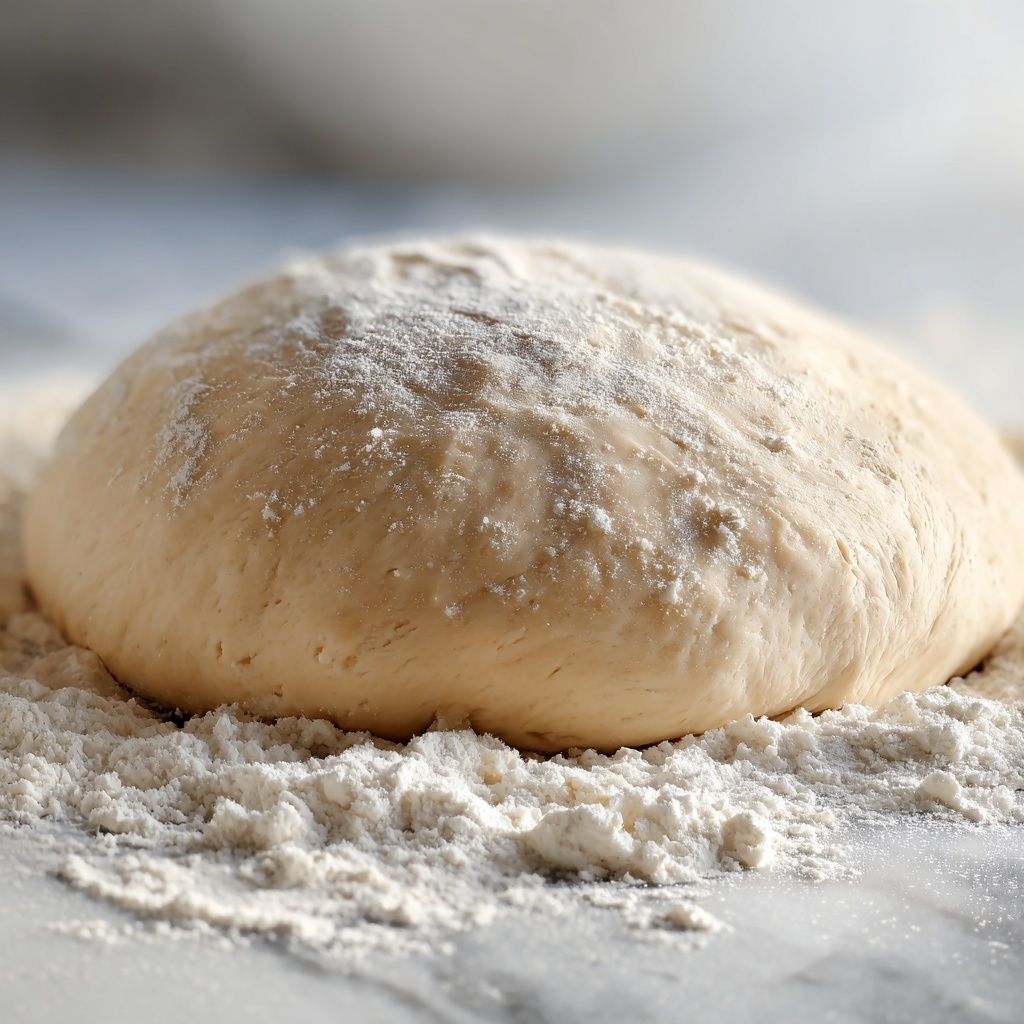
Step 4: Form the Dough
Mix everything with a spoon or your hands until a rough dough begins to form. Once the ingredients are roughly combined, it’s time to transfer to a floured surface to start kneading.
Step 5: Knead to Perfection
Knead the dough vigorously for 8 to 10 minutes, until it transforms into a smooth, elastic ball. This kneading step is crucial since it develops gluten, giving your dough the strength it needs to stretch thin without tearing, and yielding that classic chewy texture.
Step 6: First Rise
Lightly oil a bowl and place your dough inside, turning it once so it’s coated in oil. Cover the bowl with a damp towel or plastic wrap and let it rest in a warm spot for 1 to 2 hours. Patience pays off here as the dough doubles in size, becoming airy and full of character.
Step 7: Shape Your Dough
Once risen, punch down the dough to release excess air, knead it briefly, then divide it if you want smaller pizzas or keep as one large ball. Roll it out on a floured surface to your preferred thickness—thick and fluffy or thin and crispy, the choice is all yours!
How to Serve Classic Pizza Dough Recipe
Garnishes
Simple herbs like fresh basil, oregano, or a drizzle of extra virgin olive oil right after baking elevate your pizza to restaurant quality. Don’t hesitate to sprinkle a little grated Parmesan or crushed red pepper flakes to add depth and a little heat.
Side Dishes
Pair your pizza with a fresh green salad tossed in lemon vinaigrette or a bowl of roasted vegetables to balance out the meal. For a heartier side, garlic knots made from extra dough scraps are an irresistible complement.
Creative Ways to Present
Cut your pizza into classic wedges, or try fun shapes like squares or even mini pizza bites for parties. You can also create a colorful pizza bar where everyone adds their favorite toppings onto their personalized dough base before baking.
Make Ahead and Storage
Storing Leftovers
If you have leftover dough, wrap it tightly in plastic wrap and store it in the refrigerator for up to 3 days. This resting period actually helps the dough develop extra flavor, so you might find your second pizza even tastier!
Freezing
To keep dough longer, freeze it in a sealed plastic bag for up to 3 months. When you’re ready to use, thaw it overnight in the fridge, then let it come to room temperature before rolling out.
Reheating
Reheat cooked pizza in a hot skillet or oven to revive that crispy crust. Avoid microwaving when possible to keep the texture from becoming soggy or chewy in the wrong way.
FAQs
Can I use bread flour instead of all-purpose flour?
Absolutely! Bread flour has a higher protein content, which can make the dough chewier and give a nice crust. The Classic Pizza Dough Recipe works well with either, so choose based on your texture preference.
How long can I let the dough rise?
The dough should ideally rise for 1 to 2 hours at room temperature until it doubles in size. If you want more flavor, you can do a slow rise overnight in the fridge, which adds complexity and tenderness.
Is it necessary to knead the dough by hand?
While kneading by hand is traditional and satisfying, you can use a stand mixer with a dough hook to save effort. Just make sure to knead until the dough is smooth and elastic.
Can I make this dough without olive oil?
Olive oil adds tenderness and flavor, but if you don’t have it, you can substitute with another vegetable oil or even omit it. The dough might be slightly less rich but will still work well.
How thick should I roll out the dough?
The thickness depends on your favorite style—thinner for crispy crusts and thicker for chewy, fluffy bases. Aim for about 1/8 inch for thin crusts or closer to 1/4 inch for a softer bite, adjusting as you like.
Final Thoughts
Making your own pizza dough from scratch with this Classic Pizza Dough Recipe is truly a joy and yields such delicious results. It’s a fantastic way to bring friends and family together and express your culinary creativity. Give it a try—you’ll be amazed at how easy it is and how much better your homemade pizza will taste!
Print
Classic Pizza Dough Recipe
- Prep Time: 15 minutes
- Cook Time: 0 minutes
- Total Time: 1 hour 30 minutes to 2 hours 15 minutes (including rising time)
- Yield: 2 pizza dough servings (makes enough for two 12-inch pizzas)
- Category: Bread / Dough
- Method: No-Cook
- Cuisine: Italian
- Diet: Vegetarian
Description
This Classic Pizza Dough recipe delivers a traditional, homemade base perfect for crafting delicious pizzas. With simple ingredients like all-purpose flour, active dry yeast, and olive oil, it yields a soft, elastic dough that rises beautifully, making it easy to shape for your favorite toppings.
Ingredients
Dry Ingredients
- 2 1/4 teaspoons active dry yeast (1 packet)
- 3 1/2 cups all-purpose flour, sifted
- 1 teaspoon granulated sugar
- 1 1/2 teaspoons salt
Wet Ingredients
- 1 1/4 cups warm water (about 110°F / 43°C)
- 2 tablespoons olive oil
Instructions
- Activate the yeast: In a mixing bowl, combine the warm water, granulated sugar, and active dry yeast. Stir gently and let it sit for 5–10 minutes until the mixture becomes frothy, indicating that the yeast is active.
- Prepare dry ingredients: Sift the all-purpose flour and salt together in a separate large bowl to ensure even distribution of the salt and to aerate the flour.
- Combine ingredients: Create a well in the center of the sifted flour mixture, then pour in the yeast mixture and olive oil.
- Mix dough: Stir the ingredients together until a rough dough begins to form.
- Knead the dough: Transfer the dough onto a floured surface and knead it for 8–10 minutes until it becomes smooth, elastic, and slightly tacky but not sticky.
- First rise: Place the kneaded dough into a lightly oiled bowl, cover it with a clean cloth or plastic wrap, and let it rise in a warm, draft-free spot for 1–2 hours, or until it doubles in size.
- Shape the dough: Punch down the risen dough to release excess gas. Knead it briefly on a floured surface, then divide it as needed and roll out to your desired thickness for pizza making.
Notes
- Ensure your water temperature is warm, not hot, to avoid killing the yeast.
- Kneading is crucial for gluten development; sufficient kneading leads to a chewy crust.
- Letting the dough rise longer enhances flavor and texture but don’t exceed 2 hours to prevent over-proofing.
- The dough can be refrigerated for up to 24 hours after the first rise to develop more flavor.
- Add herbs or garlic to the dough for a flavored crust variation.

