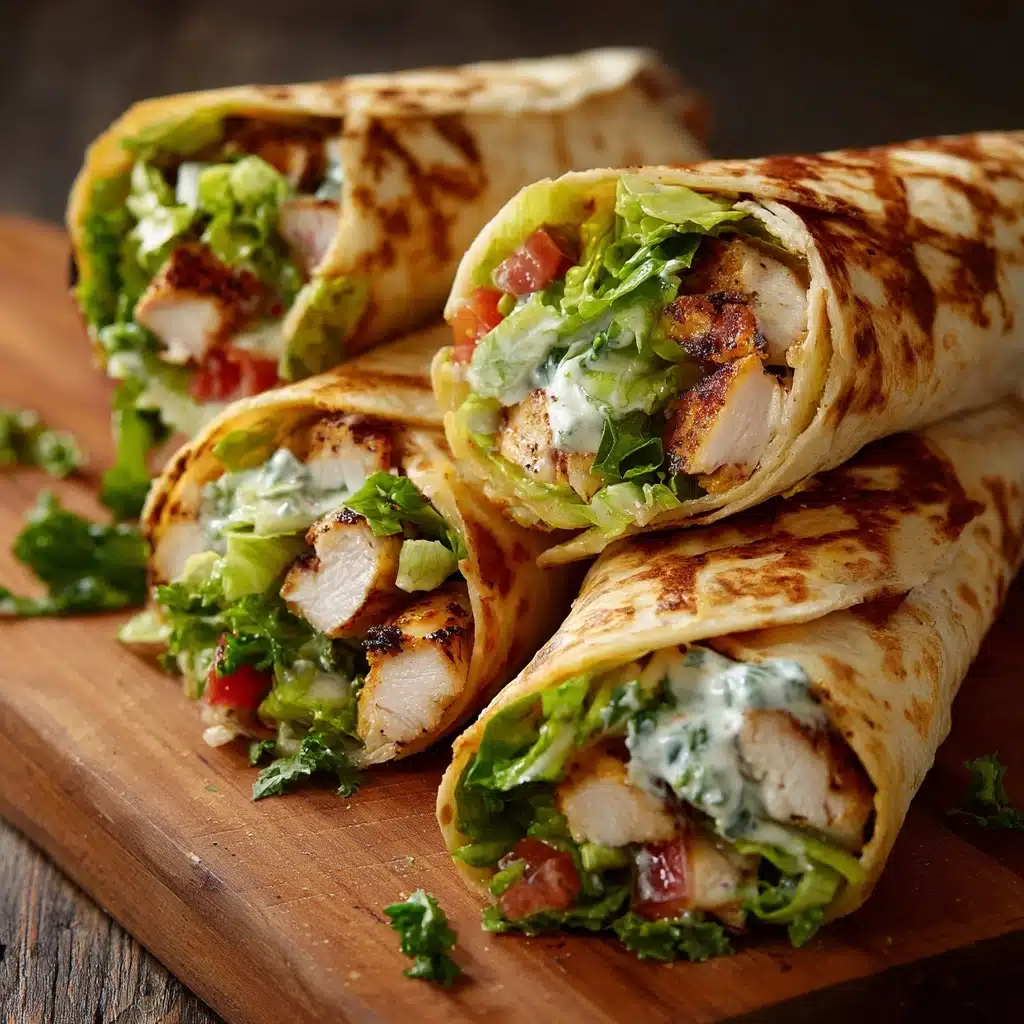
Chicken Caesar Salad Tortilla Cones: A Fun, Flavorful Twist on a Classic capture everything you love about the iconic Caesar salad and package it up in a delightfully crispy, hand-held tortilla cone. Imagine your favorite salad getting dressed up for a party—tender chunks of savory chicken, crisp romaine, punchy Parmesan, all nestled in a warm, golden tortilla that’s engineered for picnics, parties, and snacking on the go. These cones are irresistibly crunchy, perfectly creamy, and supremely satisfying, making them just as fun to eat as they are to serve!
Ingredients You’ll Need
This easy-to-find lineup keeps things simple while delivering bold flavors and that signature Caesar crunch. Each component brings something unique—think savory chicken, tangy Caesar, and fresh greens—all coming together in a hand-held masterpiece.
- Cooked chicken breast (2 cups, chopped or shredded): Freshly cooked or rotisserie chicken both work beautifully for juicy, protein-packed filling.
- Caesar dressing (½ cup): Go store-bought for convenience or homemade if you feel fancy—the creamy tang binds everything together.
- Grated Parmesan cheese (¼ cup): Salty, nutty Parmesan gives that unmistakable Caesar zing in every bite.
- Chopped romaine lettuce (1½ cups): For irresistibly crunchy texture and classic Caesar freshness.
- Croutons, crushed slightly (¼ cup): Adds another layer of crunch and buttery flavor throughout the filling.
- Medium flour tortillas (6): The edible cone—when baked, they turn golden and perfectly crisp!
- Olive oil (1 tablespoon): Brushed on the tortillas for color and that shatteringly crisp texture.
- Salt and pepper to taste: Amplifies the flavors and balances out all the savory and fresh notes.
- Extra Parmesan and croutons for garnish (optional): Takes both taste and presentation to the next level!
How to Make Chicken Caesar Salad Tortilla Cones: A Fun, Flavorful Twist on a Classic
Step 1: Preheat and Prepare the Tortillas
Get your oven nice and hot at 375°F (190°C). As the oven preheats, lightly brush both sides of each flour tortilla with olive oil—this step is crucial for achieving that golden, crispy, shatter-in-your-mouth cone. Roll each tortilla into a cone shape (like a mini ice cream cone) and secure it with a toothpick or a little twist of foil. Arrange them in a muffin tin or stand them tip-side down on a baking sheet to help maintain their shape during baking.
Step 2: Bake the Tortilla Cones
Pop the tortillas into the oven for 8–10 minutes, watching for that perfect golden color and crispy finish. Keep an eye on them, since ovens can vary—what you want is a cone that holds its shape and delivers crunch in every bite. Once baked, let them cool completely before carefully removing any toothpicks or foil. These cones are now ready to be stuffed!
Step 3: Prepare the Chicken Caesar Salad Filling
In a large mixing bowl, toss together the cooked chicken, Caesar dressing, grated Parmesan, and crushed croutons. Give it all a good mix to ensure every piece gets a little love from the dressing. Add salt and pepper to taste—you want a savory, craveable filling that’s not too salty. Wait to add the romaine until just before serving so that the lettuce stays crisp and gloriously green!
Step 4: Fold in the Lettuce
Right before it’s time to fill the cones, gently fold in the chopped romaine lettuce. This keeps every bite vibrant, crunchy, and full of fresh flavor. If you add it too soon, it can wilt—so save this step for the grand finale.
Step 5: Fill and Serve
Carefully spoon the chicken Caesar mixture into each cooled tortilla cone, packing it in so you get a bit of everything in every bite. Top with extra Parmesan and croutons, if you’re feeling a little extra. Serve your Chicken Caesar Salad Tortilla Cones: A Fun, Flavorful Twist on a Classic immediately so you can enjoy all the crunchy-creamy goodness at its peak.
How to Serve Chicken Caesar Salad Tortilla Cones: A Fun, Flavorful Twist on a Classic
Garnishes
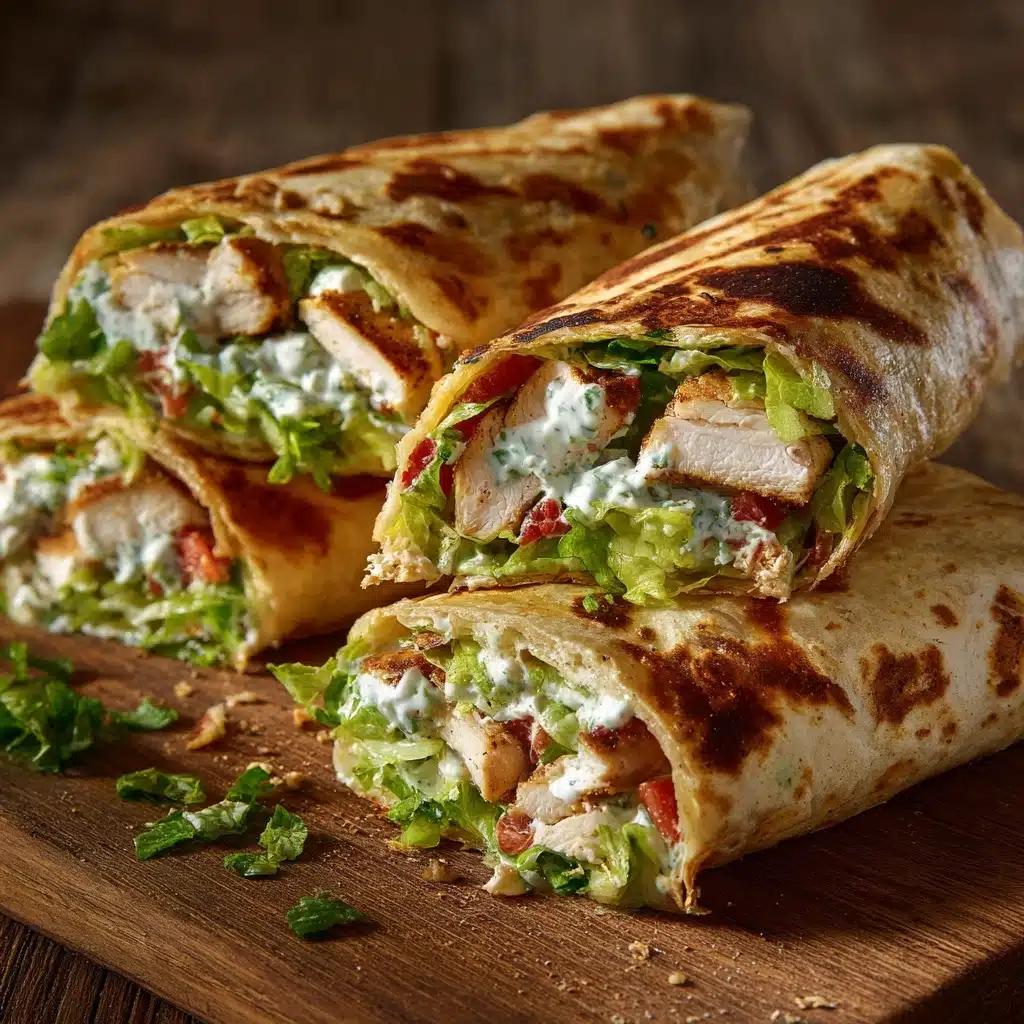
Dress up your cones with a flurry of extra Parmesan shavings, a sprinkle of freshly cracked black pepper, or a handful of extra croutons perched on top. For a hint of color, scatter on some chopped fresh parsley or a squeeze of lemon, bringing brightness to every bite.
Side Dishes
Since Chicken Caesar Salad Tortilla Cones: A Fun, Flavorful Twist on a Classic are already a well-rounded little meal, keep sides light and fresh. Try pairing with a colorful fruit salad, crisp veggie sticks with dip, or a bowl of soup for a cozy lunch. They’re perfect on a party platter surrounded by other finger foods!
Creative Ways to Present
These cones were born to be shown off! Arrange them upright in glasses, mason jars, or lined up in a muffin tin for a party presentation that makes guests do a double-take. If you’re heading outdoors, wrap the bottoms in parchment or napkins for a picnic-perfect touch. For extra flair, set out little bowls of Caesar dressing for dunking.
Make Ahead and Storage
Storing Leftovers
If you have extra filling, pop it in an airtight container in the fridge for up to 2 days. Store the baked tortilla cones separately, so everything stays crisp and fabulous—the cones can go into a zipper bag at room temperature once cooled.
Freezing
While Chicken Caesar Salad Tortilla Cones: A Fun, Flavorful Twist on a Classic are best fresh, you can freeze the baked cone shells on their own for up to 1 month. Thaw at room temperature and crisp up in the oven for a few minutes before filling. Avoid freezing the salad mixture, as the lettuce will lose its texture.
Reheating
If your cones lose some crunch, a quick blast in a 350°F (175°C) oven for 3 to 5 minutes does wonders. Just be sure to reheat the cones before filling; the filling itself is best served cold and fresh.
FAQs
Can I make the filling ahead of time?
Absolutely! Prepare the chicken Caesar mixture (without the lettuce) and keep it covered in the fridge for up to 24 hours. Just fold in the romaine right before assembling the Chicken Caesar Salad Tortilla Cones: A Fun, Flavorful Twist on a Classic so it stays crisp.
Can I use a different kind of lettuce?
Definitely. While romaine is classic for that signature Caesar crunch, you can substitute butter lettuce, iceberg, or even a blend for a different texture or flavor nuance.
How do I keep the cones from unrolling while baking?
Secure each tortilla well with a toothpick or wrap a small piece of foil around the seam. Placing the cones upright in a muffin tin or with the tip-side down will help them hold shape while turning perfectly crisp.
Could I make this recipe gluten free?
Yes! Look for gluten-free tortillas and gluten-free croutons. These alternatives work well and let everyone enjoy Chicken Caesar Salad Tortilla Cones: A Fun, Flavorful Twist on a Classic with no worries.
What’s the best way to transport these for a party or picnic?
For best results, carry the filling and the baked cones separately. Assemble the cones just before serving or right at the picnic spot to keep everything from getting soggy and ensure the crunch factor stays high.
Final Thoughts
If you’ve never tried Chicken Caesar Salad Tortilla Cones: A Fun, Flavorful Twist on a Classic, this is your cue to shake up a beloved classic and have some real fun with your food. They’re easy to make, a total crowd-pleaser, and guaranteed to put a creative (and delicious) spin on your next gathering. Let these cones steal the spotlight at your table—you’ll be making them again and again!
Print
Chicken Caesar Salad Tortilla Cones: A Fun, Flavorful Twist on a Classic Recipe
- Total Time: 25 minutes
- Yield: 6 tortilla cones 1x
- Diet: Non-Vegetarian
Description
These Chicken Caesar Salad Tortilla Cones are a delightful twist on the classic Caesar salad, served in a fun and portable cone-shaped tortilla. Crispy tortilla cones filled with a flavorful mixture of chicken, Caesar dressing, Parmesan cheese, and crunchy romaine lettuce make for a perfect appetizer or main course option.
Ingredients
For the tortilla cones:
- 6 medium flour tortillas
- 1 tablespoon olive oil
- Salt and pepper to taste
For the filling:
- 2 cups cooked chicken breast, chopped or shredded
- ½ cup Caesar dressing
- ¼ cup grated Parmesan cheese
- 1½ cups chopped romaine lettuce
- ¼ cup croutons, crushed slightly
- Extra Parmesan and croutons for garnish (optional)
Instructions
- Preheat the oven: Preheat the oven to 375°F (190°C).
- Prepare the tortilla cones: Lightly brush both sides of each tortilla with olive oil. Roll each tortilla into a cone shape and secure with a toothpick or foil. Place the cones upright in a muffin tin or on a baking sheet, tip-side down against the pan. Bake for 8–10 minutes until golden and crispy. Let cool and remove toothpicks or foil.
- Make the filling: In a large bowl, combine cooked chicken, Caesar dressing, Parmesan cheese, and crushed croutons. Season with salt and pepper. Gently fold in chopped romaine lettuce just before serving.
- Assemble the cones: Spoon the chicken Caesar mixture into each tortilla cone. Garnish with extra Parmesan or croutons if desired.
- Serve: Serve immediately for the best texture.
Notes
- Use rotisserie chicken to save time.
- Prepare the filling ahead and assemble before serving.
- Great for parties, picnics, or as a lunchbox option.
- Prep Time: 15 minutes
- Cook Time: 10 minutes
- Category: Appetizer or Main Course
- Method: Baking, No-Cook (for filling)
- Cuisine: American
Nutrition
- Serving Size: 1 cone
- Calories: 280
- Sugar: 2 g
- Sodium: 490 mg
- Fat: 16 g
- Saturated Fat: 4 g
- Unsaturated Fat: 10 g
- Trans Fat: 0 g
- Carbohydrates: 19 g
- Fiber: 1 g
- Protein: 17 g
- Cholesterol: 45 mg

