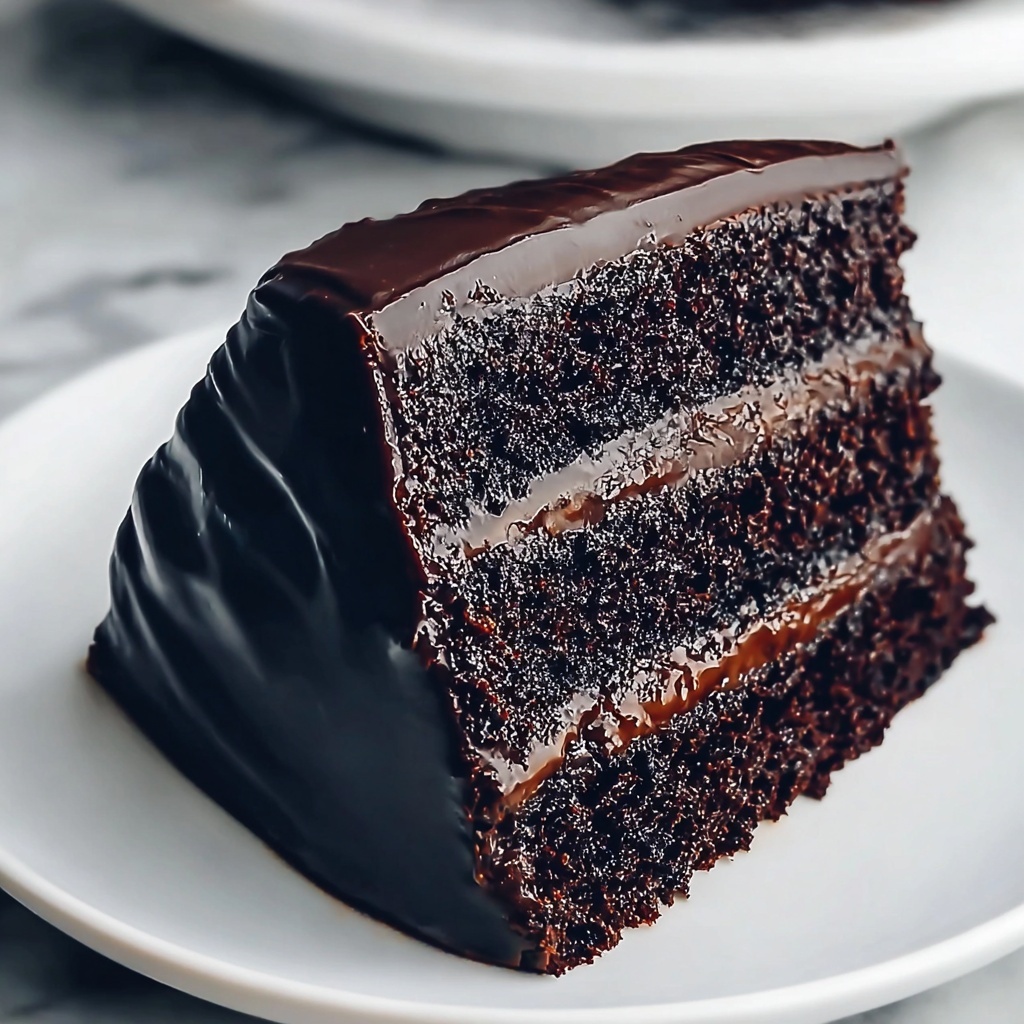
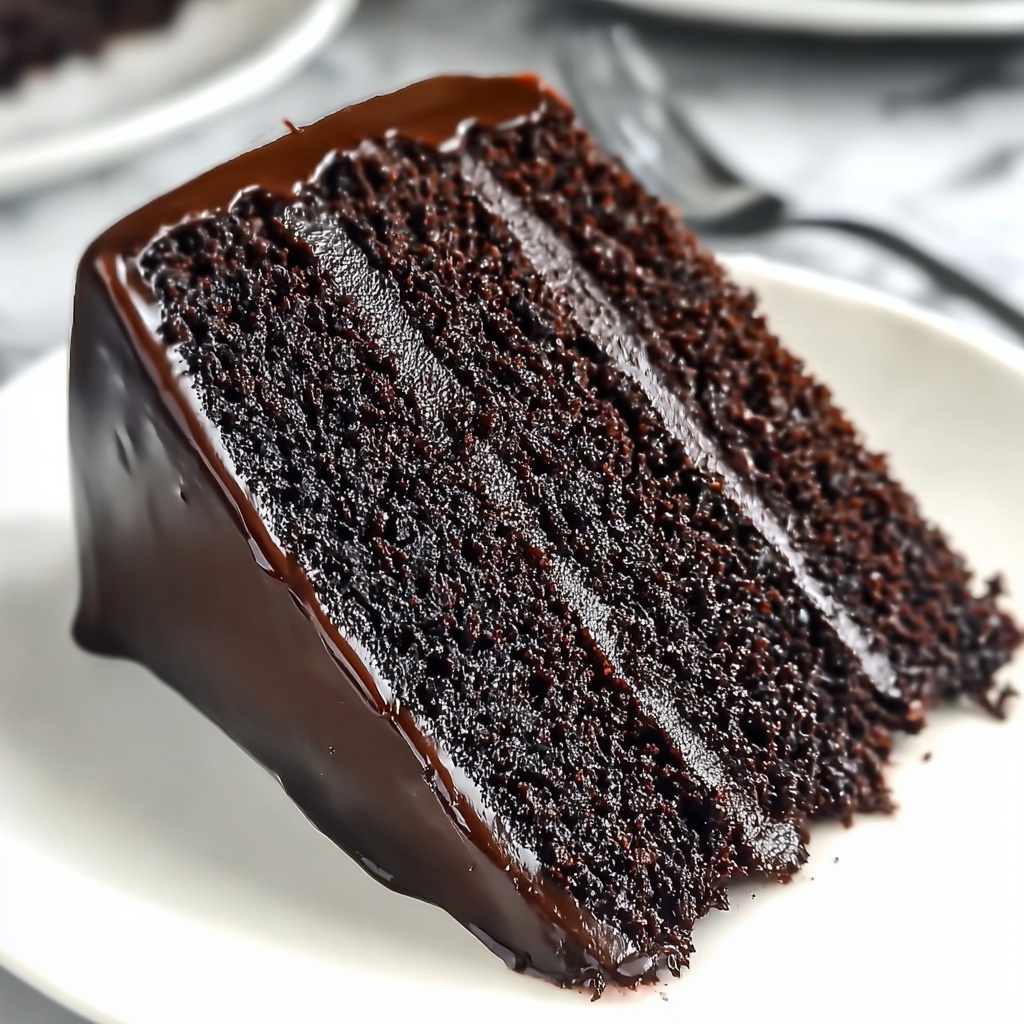
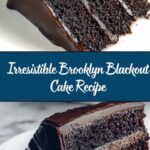
If you’ve ever dreamed of sinking your teeth into a truly decadent chocolate masterpiece, you’re going to fall head over heels for this Irresistible Brooklyn Blackout Cake Recipe. This cake is all about luscious layers of rich chocolate cake enveloped in a silky, fudge-like pudding frosting that makes every bite an unforgettable celebration of chocolate. It’s a nostalgic New York classic reimagined for your kitchen, inviting you to enjoy an extravagant dessert that’s surprisingly simple to make but impossible to resist.
Ingredients You’ll Need
Gathering the right ingredients is the first delightful step toward crafting this Irresistible Brooklyn Blackout Cake Recipe. Each one plays an essential role in building the cake’s rich flavor, moist texture, and deep chocolate color that make it truly special.
- 2 cups all-purpose flour: The backbone of your cake, providing structure and tenderness; swap for gluten-free flour if needed.
- 3/4 cup unsweetened cocoa powder: Use a high-quality brand to ensure that deep, intense chocolate flavor shines through.
- 2 teaspoons baking powder: A fresh helping of this ensures your cake rises wonderfully fluffy.
- 1 teaspoon baking soda: Works with baking powder to achieve perfect cake lift and crumb.
- 1 teaspoon salt: Enhances all the chocolate flavors and balances the sweetness.
- 1 1/2 cups granulated sugar: Sweetens the cake perfectly, with options to use coconut sugar for a unique twist.
- 1 cup whole milk: Adds richness and moisture; try almond milk for a dairy-free version.
- 1/2 cup vegetable oil: Keeps the cake wonderfully moist and tender; substitute melted coconut oil for a subtle flavor lift.
- 2 large eggs: Bind the ingredients together and provide a light structure; flaxseed meal can be used for vegan baking.
- 2 teaspoons vanilla extract: Offers warm, fragrant notes that elevate the chocolate experience; almond extract is a lovely alternative.
- 8 ounces semi-sweet chocolate (chopped): The star ingredient in the pudding frosting, creating that luscious, melt-in-your-mouth texture.
- 1/2 cup unsalted butter: Enriches the pudding with creamy depth; choose dairy-free butter if preferred.
- 2 cups powdered sugar: Sweetens the pudding filling evenly for a smooth finish.
- 1 cup boiling water: Activates the cocoa powder and helps blend everything into a silky smooth batter.
How to Make Irresistible Brooklyn Blackout Cake Recipe
Step 1: Prepare Your Pans and Preheat Oven
Start by preheating your oven to 350°F (175°C). Grease two 9-inch round cake pans and lightly dust them with flour to ensure your rich chocolate cakes slide out effortlessly once baked. This simple prep is key to achieving those perfect layers.
Step 2: Combine the Dry Ingredients
In a large bowl, whisk together the flour, cocoa powder, baking powder, baking soda, and salt. This blend is the foundation that brings structure and that signature deep chocolate hue to your cake.
Step 3: Mix the Wet Ingredients
In a separate bowl, combine the milk, vegetable oil, eggs, and vanilla extract. This mixture adds moisture, tenderness, and that irresistible aroma to your batter.
Step 4: Blend Wet and Dry Mixtures
Gently fold the wet ingredients into the dry, mixing until smooth and creamy. Be careful not to overmix, as you want your cake to be soft and tender rather than dense.
Step 5: Add Boiling Water
Slowly stir in the boiling water. This step makes your batter silky and smooth, intensifying the cocoa flavor and ensuring a moist crumb once baked.
Step 6: Bake the Cake Layers
Divide the batter evenly between your prepared pans and bake for 30 to 35 minutes. Test for doneness by inserting a toothpick into the center; it should come out clean or with just a few moist crumbs attached. Then, let your cakes cool in the pans for about 10 minutes before transferring them to a wire rack to cool completely.
Step 7: Prepare the Pudding Filling
While your cakes cool, heat the unsalted butter, powdered sugar, cocoa powder, and milk in a saucepan over medium heat. Stir until the mixture comes to a gentle boil and thickens into a luscious pudding-like texture. This pudding is the secret that makes the Irresistible Brooklyn Blackout Cake Recipe so decadently smooth.
Step 8: Assemble Your Cake
Place one cake layer on a serving plate and generously spread the pudding filling over it. Top with the second cake layer, then frost the entire cake with the remaining pudding. Feel free to get creative here; the more pudding, the better!
Step 9: Add Finishing Touches
Optionally, sprinkle the top of your cake with chocolate shavings or colorful sprinkles for that classic Brooklyn Blackout look. For an extra indulgent experience, serve slices with a scoop of vanilla ice cream. Trust me, it’s an absolute game changer!
How to Serve Irresistible Brooklyn Blackout Cake Recipe

Garnishes
When it comes to garnishes, simplicity is your best friend. Classic chocolate shavings made from a good-quality bar, or a handful of sprinkles, add charm and texture without overpowering the rich pudding frosting. If you’re feeling adventurous, a light dusting of cocoa powder or a drizzle of warm chocolate sauce will elevate this cake to showstopper status.
Side Dishes
This cake shines brightly on its own, but pairing it with a scoop of creamy vanilla ice cream or whipped cream adds a cool, refreshing contrast to each bite. Fresh berries are another lovely accompaniment, lending a burst of acidity and color that balances the intense chocolate flavor beautifully.
Creative Ways to Present
For a dramatic presentation, try layering mini versions of this cake in clear dessert cups with alternating pudding and cake layers for an eye-catching parfait. Or, slice into neat squares and serve on rustic wooden boards alongside coffee or milk for a casual yet memorable gathering. Whatever the occasion, this Irresistible Brooklyn Blackout Cake Recipe makes a stunning centerpiece.
Make Ahead and Storage
Storing Leftovers
Leftover cake deserves love too! Store your Brooklyn Blackout Cake in an airtight container in the refrigerator, where it will stay moist and flavorful for up to 4 days. The pudding frosting might firm up a bit, but a few minutes at room temperature will bring back that creamy texture.
Freezing
This cake freezes exceptionally well. Wrap individual slices tightly in plastic wrap and place them in a freezer-safe container or bag. Frozen slices will keep their delicious quality for up to 2 months. When you’re ready to indulge, thaw them overnight in the fridge for the best texture.
Reheating
To revive that just-made feel, allow refrigerated or thawed cake to come to room temperature before serving. If you want to warm it slightly, a few seconds in the microwave (careful not to melt the frosting too much) can transform your slice into a decadent, gooey treat that’s hard to resist.
FAQs
Can I make this cake gluten-free?
Absolutely! Simply swap the all-purpose flour for a gluten-free flour blend. Make sure it’s a blend designed for baking to maintain the cake’s tender crumb and texture.
Is there a dairy-free version of this cake?
Yes, you can substitute whole milk with almond or oat milk, and swap unsalted butter for a dairy-free alternative. This keeps the cake moist while accommodating dietary preferences.
How long does this cake take to make?
From start to finish, expect about 1 hour and 15 minutes, including baking and cooling time. It’s a manageable project that yields extraordinary results.
Can I use dark chocolate instead of semi-sweet?
Definitely! Using dark chocolate will deepen the richness and add a slightly more intense cocoa flavor. Adjust the sugar if you prefer a sweeter balance.
Why is boiling water added to the batter?
The boiling water activates the cocoa powder and thins the batter, which helps create a moist, tender crumb that’s beautifully soft and rich in every bite.
Final Thoughts
If you’re ready to treat yourself and your loved ones to a truly special chocolate dessert, this Irresistible Brooklyn Blackout Cake Recipe is waiting for you. It’s a perfect blend of nostalgia, lush textures, and bold flavor that makes each slice feel like a celebration. Once you try it, I guarantee it will become a beloved staple in your baking repertoire—so go ahead, bake it, savor it, and share the joy!
Print
Irresistible Brooklyn Blackout Cake Recipe
- Prep Time: 20 minutes
- Cook Time: 35 minutes
- Total Time: 1 hour 15 minutes
- Yield: 8 servings
- Category: Dessert
- Method: Baking
- Cuisine: American
Description
Experience the decadent delight of the Irresistible Brooklyn Blackout Cake, a rich chocolate layer cake filled and frosted with a luscious homemade chocolate pudding. This classic New York dessert combines moist cocoa-infused cake layers with a creamy chocolate filling and frosting, making it the ultimate chocolate dream for any occasion.
Ingredients
Dry Ingredients
- 2 cups all-purpose flour (Substitute with a gluten-free flour blend for a gluten-free cake.)
- 3/4 cup unsweetened cocoa powder (Choose high-quality for the best taste.)
- 2 teaspoons baking powder (Ensure freshness to avoid flat cakes.)
- 1 teaspoon baking soda (Ensure freshness to avoid flat cakes.)
- 1 teaspoon salt (Enhances overall flavor.)
- 1 1/2 cups granulated sugar (Can be replaced with coconut sugar for a different flavor.)
Wet Ingredients
- 1 cup whole milk (Almond milk works for a dairy-free version.)
- 1/2 cup vegetable oil (Swap for melted coconut oil for added flavor.)
- 2 large eggs (Consider flaxseed meal for a vegan option.)
- 2 teaspoons vanilla extract (Pure almond extract adds a lovely twist.)
- 1 cup boiling water (Activates cocoa powder for flavor.)
Chocolate Pudding Filling & Frosting
- 8 ounces semi-sweet chocolate (Chopped for the pudding.)
- 1/2 cup unsalted butter (Opt for dairy-free butter if needed.)
- 2 cups powdered sugar (Can be substituted with a powdered sweetener.)
- Additional milk as needed (approximately 1/4 to 1/2 cup) to achieve pudding consistency
Instructions
- Preparation: Preheat your oven to 350°F (175°C). Grease and lightly flour two 9-inch round cake pans to ensure the cakes come out easily after baking.
- Mix Dry Ingredients: In a large bowl, whisk together the all-purpose flour, unsweetened cocoa powder, baking powder, baking soda, and salt until well combined.
- Mix Wet Ingredients: In a separate bowl, combine whole milk, vegetable oil, eggs, and vanilla extract, mixing until smooth.
- Combine Batters: Gently mix the wet ingredients into the dry ingredients, beating until the batter becomes smooth and creamy without overmixing.
- Add Boiling Water: Gradually stir in the boiling water to the batter, which will make the batter silky and thin, enhancing moisture and flavor.
- Bake the Cake: Pour the batter evenly into the prepared pans and bake for 30-35 minutes. Test doneness by inserting a toothpick into the center; it should come out clean or with a few moist crumbs.
- Cool the Cake Layers: Allow the cakes to cool in their pans for about 10 minutes, then transfer them onto wire racks to cool completely.
- Prepare Pudding Filling: In a saucepan, heat unsalted butter, granulated sugar (or powdered sugar as preferred), cocoa powder, and milk. Bring to a gentle boil and cook until thickened to a pudding consistency, stirring constantly to avoid burning. Remove from heat and stir in chopped semi-sweet chocolate until melted and smooth. Let it cool to room temperature.
- Assemble the Cake: Place one cake layer on a serving plate. Spread a generous amount of the cooled pudding filling evenly on top.
- Add Second Layer: Place the second cake layer over the pudding filling. Use the remaining pudding to frost the top and sides of the entire cake.
- Decorate: Optionally, garnish the cake with chocolate shavings or colorful sprinkles to add a festive touch.
- Serve: For an extra special treat, serve slices with a scoop of vanilla ice cream on the side.
Notes
- For a gluten-free version, substitute the all-purpose flour with a gluten-free flour blend.
- Use almond milk or other non-dairy milk to make the cake dairy-free.
- For a vegan option, replace eggs with flaxseed meal and use dairy-free butter.
- Ensure baking powder and baking soda are fresh to guarantee good rise.
- Be careful when adding boiling water; stir gradually to avoid splattering.
- Allow pudding filling to cool before frosting to prevent melting the cake layers.
- Store leftover cake covered at room temperature for up to 2 days or refrigerate for up to 5 days.


