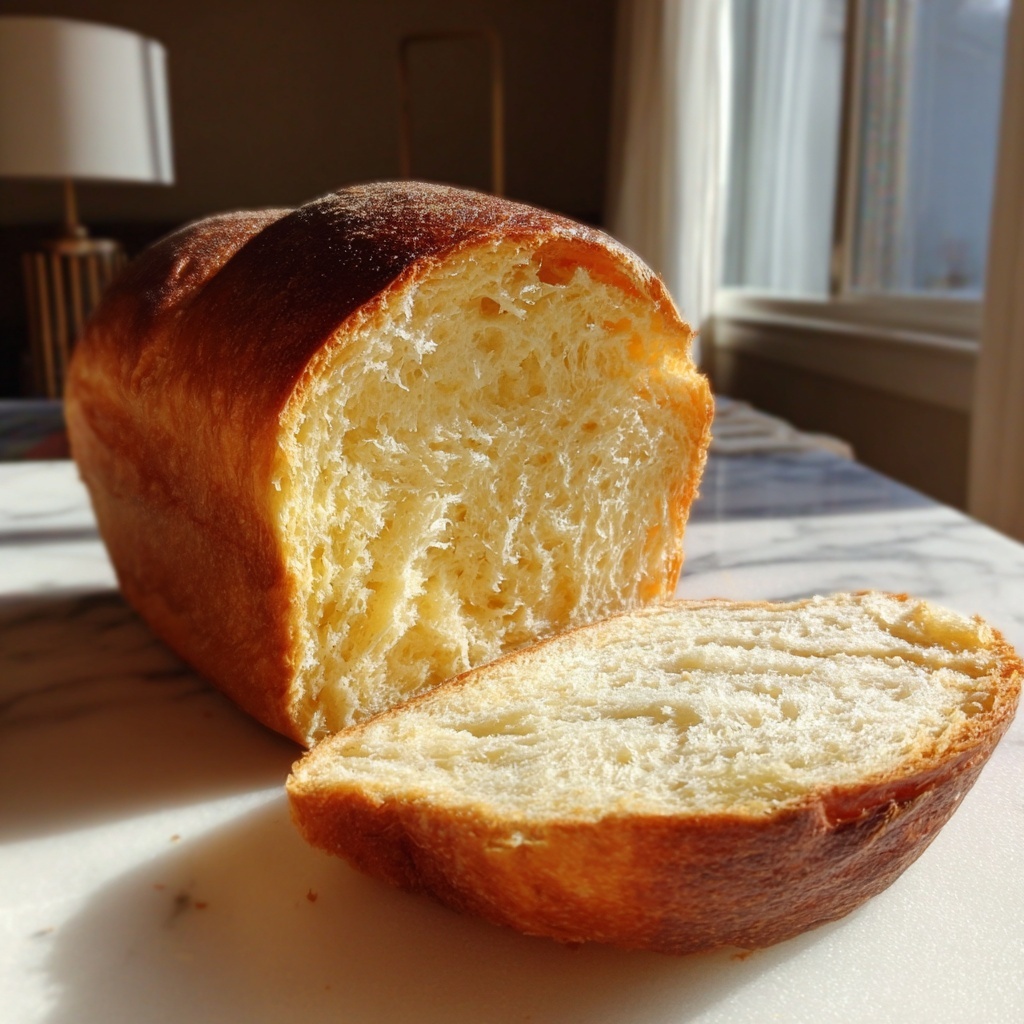
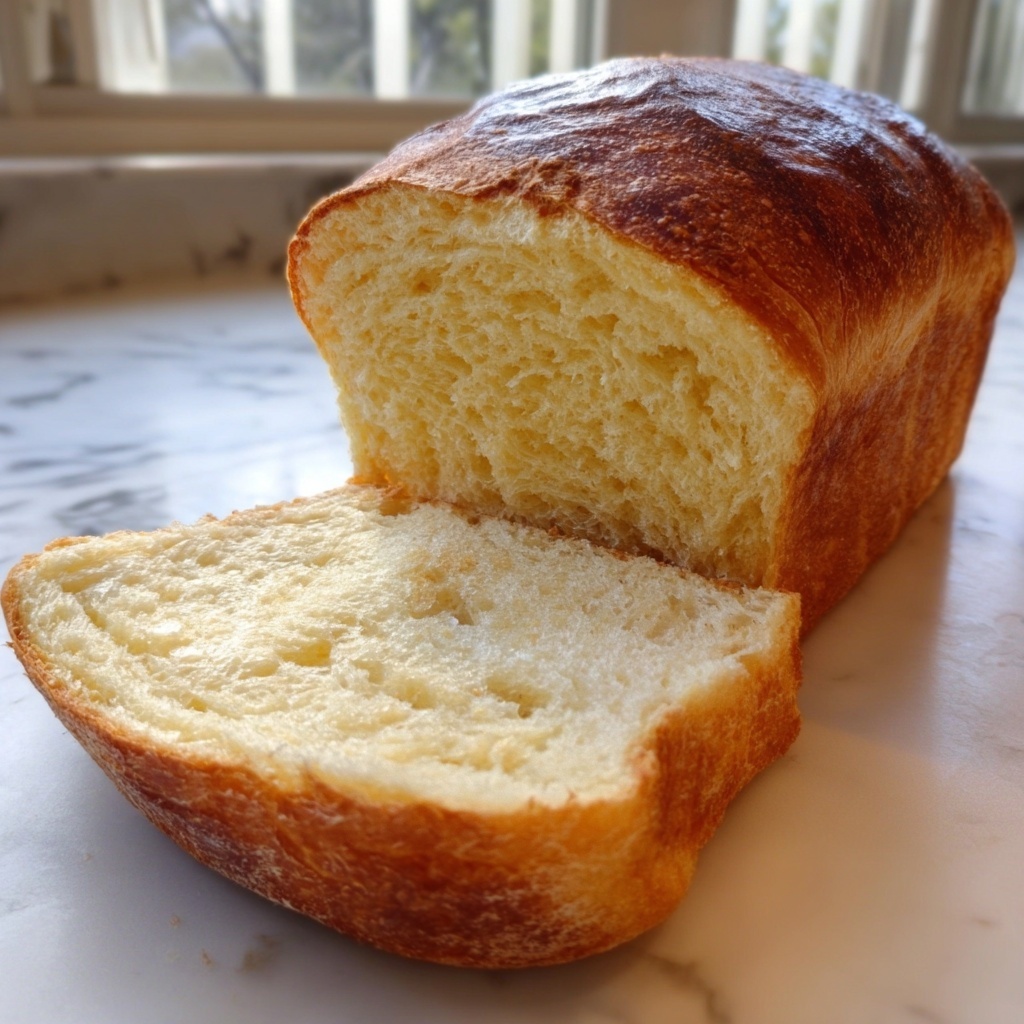
If you’re on the hunt for a truly heartwarming baking experience, look no further than this Comforting Amish White Bread Recipe: 7 Steps to Homemade Joy Recipe. This recipe is a beautiful celebration of simple ingredients coming together to create an irresistibly soft, fluffy loaf that fills your kitchen with an aroma straight from the heart of home. From the moment you start stirring yeast into warm water to the final golden crust resting on your counter, you’re embracing a timeless tradition that promises not only bread but genuine comfort. Whether you’re an experienced baker or just starting out, this bread lends itself to joy in every single step.
Ingredients You’ll Need
This recipe keeps things wonderfully straightforward, focusing on staple ingredients that transform into something magical. Each item plays an essential role: the yeast gives life to the dough, the sugar feeds the yeast for a perfect rise, and the oil tenderizes the crumb to keep every slice soft and moist.
- 4 cups all-purpose flour: The base of your dough, providing structure and that classic soft texture.
- 1 packet active dry yeast: This little packet is the secret to that beautiful rise and airy crumb.
- 1 cup warm water: Activates the yeast and hydrates the flour perfectly for kneading.
- 1/4 cup sugar: Feeds the yeast and adds subtle sweetness to balance the flavors.
- 1 tablespoon salt: Enhances the flavor and strengthens the dough’s gluten framework.
- 1/4 cup vegetable oil: Adds moisture for a tender, melt-in-your-mouth crumb.
How to Make Comforting Amish White Bread Recipe: 7 Steps to Homemade Joy Recipe
Step 1: Dissolve the Yeast
The journey begins by dissolving your active dry yeast into warm water—make sure it’s just right, not too hot or cold, around 110°F (43°C). This step wakes up the yeast, igniting the magic that makes your bread rise proudly.
Step 2: Mix in Sugar, Salt, and Oil
Once your yeast is activated and bubbly, stir in the sugar to fuel the yeast, the salt to bring flavor to life, and the vegetable oil, which will help keep your bread moist and tender.
Step 3: Gradually Add Flour
Slowly add your all-purpose flour, mixing steadily until a rough dough forms. This gradual addition allows you to feel when the dough starts pulling together just right, not too sticky but not dry either.
Step 4: Knead the Dough
Turn your dough out onto a lightly floured surface and knead it with love for about 10 minutes. This kneading builds the gluten network that gives Amish white bread its perfect chew and bounce.
Step 5: First Rise
Place your dough ball in a greased bowl and cover it, then let it rest in a warm spot. This is where patience pays off—the dough doubles in size as the yeast works its magic, taking about an hour.
Step 6: Shape the Loaf
After that beautiful rise, gently punch the dough down to release excess air. Then shape it into a classic loaf, preparing it for its final rest before baking.
Step 7: Second Rise and Bake
Place your shaped dough in a greased loaf pan, cover it again, and let it rise for about 30 minutes. Then, pop it into a 350°F (175°C) oven and bake for 30 minutes until the crust turns a beautiful golden brown. Your kitchen will smell like homemade happiness in no time.
How to Serve Comforting Amish White Bread Recipe: 7 Steps to Homemade Joy Recipe

Garnishes
This bread is a lovely canvas for simple garnishes. A spread of creamy butter melting into a warm slice or a swipe of fruit preserves can highlight the bread’s subtle sweetness and soft texture beautifully.
Side Dishes
The soft, tender crumb pairs amazingly with hearty soups like chicken noodle or tomato basil. It’s also the perfect companion to rich stews or simply toasted alongside your favorite breakfast eggs.
Creative Ways to Present
Think outside the loaf by slicing thick and making French toast for breakfast, or layer it with melted cheese and herbs for a comforting grilled sandwich. You could even cube it for homemade croutons to add a delightful crunch to salads.
Make Ahead and Storage
Storing Leftovers
To keep your Amish white bread fresh, store it in an airtight container or wrapped tightly in plastic wrap at room temperature. It should stay soft for up to three days, perfect for quick sandwiches or snacks.
Freezing
If you want to enjoy your homemade joy later, slice the bread and freeze it in a resealable bag. This way, you can toast slices directly from the freezer without losing any of that freshly-baked charm.
Reheating
To bring back that freshly baked feel, warm slices in a toaster or oven. A few minutes at 350°F (175°C) will revive the crust and heat the bread through, making it taste like it just came out of the oven.
FAQs
Can I substitute whole wheat flour for all-purpose flour in the Comforting Amish White Bread Recipe: 7 Steps to Homemade Joy Recipe?
Yes, you can swap some or all of the all-purpose flour for whole wheat, but keep in mind the bread will be denser and have a nuttier flavor. You might want to start with half whole wheat for best results.
How do I know if the yeast is still good to use?
If your yeast bubbles and froths after dissolving in warm water with a pinch of sugar, it’s active and ready. If nothing happens after 10 minutes, it’s time to get fresh yeast to ensure your bread rises properly.
Can I make this bread in a bread machine?
Absolutely! Just add the ingredients in the order recommended by your machine’s manufacturer. Use the dough or basic bread cycle, then bake in the oven if you prefer a crispier crust.
Is it necessary to do the second rise before baking?
Yes, the second rise is important because it gives the dough a chance to relax and expand further, resulting in a lighter texture and better oven spring.
What can I do if my dough is too sticky to knead?
Add a little more flour, about a tablespoon at a time, until the dough is easier to handle but still soft. Avoid adding too much or your bread might become heavy.
Final Thoughts
Baking bread from scratch is such a joy, but this Comforting Amish White Bread Recipe: 7 Steps to Homemade Joy Recipe makes it straightforward and absolutely rewarding. Each step invites you to slow down and enjoy the process, while the result blesses your table with warmth and deliciousness. Trust me, once you try this recipe, it will become a heartwarming staple in your kitchen—you’ll wonder how you ever lived without it.
Print
Comforting Amish White Bread Recipe: 7 Steps to Homemade Joy Recipe
- Prep Time: 20 minutes
- Cook Time: 30 minutes
- Total Time: 1 hour 50 minutes
- Yield: 1 loaf (about 12 slices)
- Category: Bread
- Method: Baking
- Cuisine: American
- Diet: Vegetarian
Description
This Comforting Amish White Bread recipe delivers a soft, fluffy, and slightly sweet homemade loaf that’s perfect for sandwiches, toast, or enjoying fresh out of the oven. With simple ingredients and straightforward steps, this classic bread embodies the heartwarming charm of Amish baking, making it an ideal choice for beginner and experienced bakers alike.
Ingredients
Ingredients
- 4 cups all-purpose flour
- 1 packet active dry yeast (about 2 1/4 teaspoons)
- 1 cup warm water (around 110°F/43°C)
- 1/4 cup sugar
- 1 tablespoon salt
- 1/4 cup vegetable oil
Instructions
- Dissolve Yeast: In a medium bowl, dissolve the active dry yeast in the warm water. Let it sit for about 5 minutes until it becomes frothy, indicating the yeast is active.
- Add Sugar, Salt, and Oil: Stir the sugar, salt, and vegetable oil into the yeast mixture until fully combined.
- Mix in Flour: Gradually add the flour to the wet ingredients, stirring continuously until a sticky dough begins to form.
- Knead the Dough: Transfer the dough to a lightly floured surface and knead it for about 10 minutes until it becomes smooth, elastic, and no longer sticky.
- First Rise: Shape the dough into a ball and place it in a greased bowl. Cover with a clean kitchen towel or plastic wrap, and let it rise in a warm place until it doubles in size, approximately 1 hour.
- Punch Down and Shape: After the dough has risen, punch it down to release the air. Shape it into a loaf form suitable for your bread pan.
- Second Rise: Place the shaped dough into a greased loaf pan. Cover again and allow it to rise for another 30 minutes until it has nearly doubled in size.
- Bake: Preheat your oven to 350°F (175°C). Bake the bread for about 30 minutes until the crust is golden brown and the bread sounds hollow when tapped.
- Cool and Serve: Remove the bread from the oven and let it cool in the pan for 10 minutes. Then transfer to a wire rack to cool completely before slicing.
Notes
- Make sure the water is warm and not hot to activate the yeast properly without killing it.
- If the dough is too sticky, add a little more flour, one tablespoon at a time, during kneading.
- Allow the bread to cool completely before slicing to ensure the best texture.
- You can substitute vegetable oil with melted butter for a richer flavor.
- Store leftover bread in an airtight container at room temperature for up to 3 days or freeze for longer storage.


