If you have ever searched far and wide for soft, fluffy, buttery bread to accompany every meal, your quest ends here with The Best Dinner Rolls Recipe. This timeless classic is everything you want in a roll — tender crumb, golden crust, and just the right amount of sweetness to pair beautifully with whatever is on your plate. Whether you’re feeding a crowd or simply craving comfort food, these rolls promise to bring warmth and happiness to your table with every bite.
Ingredients You’ll Need
The magic of The Best Dinner Rolls Recipe lies in its simple, everyday ingredients that work together to create an irresistible bread. Each component plays a vital role in lending texture, moisture, richness, and flavor to your rolls.
- Warm whole milk (1 ½ cups, divided): Milk adds tenderness and helps create a soft crumb while activating the yeast.
- Granulated sugar (1/4 cup): Sugar feeds the yeast and adds a subtle touch of sweetness that balances the buttery flavor.
- Active dry yeast (2 teaspoons): The powerhouse ingredient for fluffy, risen rolls full of life.
- Salt (1/2 teaspoon): Enhances the flavors and balances sweetness.
- All-purpose flour (5 cups, divided): The foundation that gives these rolls their shape and structure.
- Salted butter (6 tablespoons, melted and cooled): Adds richness and a tender mouthfeel.
- Large eggs (2): Eggs contribute to the softness and help bind the dough together.
How to Make The Best Dinner Rolls Recipe
Step 1: Activate the Yeast
Start by mixing half a cup of warm milk with sugar, yeast, and salt in a small bowl. Let this mixture rest for about 5 minutes until it becomes foamy. This signals that the yeast is alive and ready to work its magic, ensuring your rolls rise to perfection.
Step 2: Combine the Wet Ingredients
In the stand mixer bowl, use the dough hook to blend melted butter, eggs, and the remaining 1 cup of warm milk. Mixing these ingredients on low speed creates a smooth and rich base for your dough.
Step 3: Add the Yeast Mixture
Pour in the foamy yeast mixture into the wet ingredients and mix thoroughly. This marries the yeast with the fats and liquids, essential for the dough’s texture.
Step 4: Incorporate the Flour and Knead the Dough
Slowly add the remaining flour to the mixer and continue mixing until the dough pulls away from the bowl’s edges. Knead on low speed for 5 minutes; this develops the gluten, giving the rolls their chewiness. If the dough feels too sticky, sprinkle in up to 1/4 cup more flour, but no more to keep it tender.
Step 5: Let the Dough Rise
Spray a large bowl with non-stick spray, place your dough inside, and cover with a clean kitchen towel. Let it rise in a warm spot until it doubles in size — this can take 1 to 2 hours depending on your kitchen’s warmth. Watching the dough swell fills you with that classic bread-making excitement.
Step 6: Shape the Dough
Turn the dough onto a lightly floured surface and cut it in half. Shape each half into a ball, cover, and let it rest for 10 minutes. This helps relax the gluten, making it easier to form perfect rolls.
Step 7: Prepare for Baking
Preheat your oven to 375 degrees F and prepare a baking sheet lined with parchment paper or sprayed with non-stick spray. This ensures your rolls won’t stick and get that delightful golden crisp crust.
Step 8: Shape and Proof the Rolls
Divide the dough into 24 equal pieces, about 2 ounces each, rolling each into a smooth ball. Place them side by side on the baking sheet, cover, and let rise again until doubled in size, roughly 30 minutes. This second rise is what gives the rolls their airy softness.
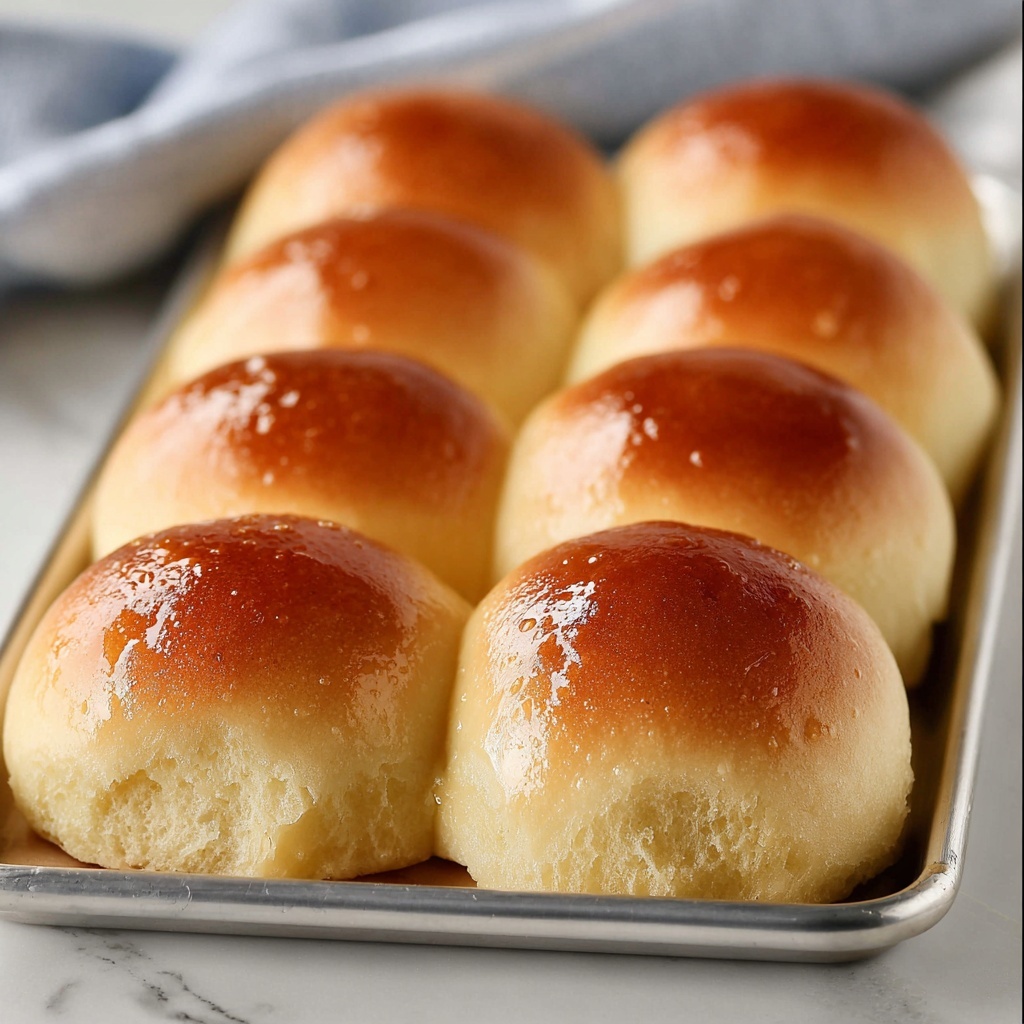
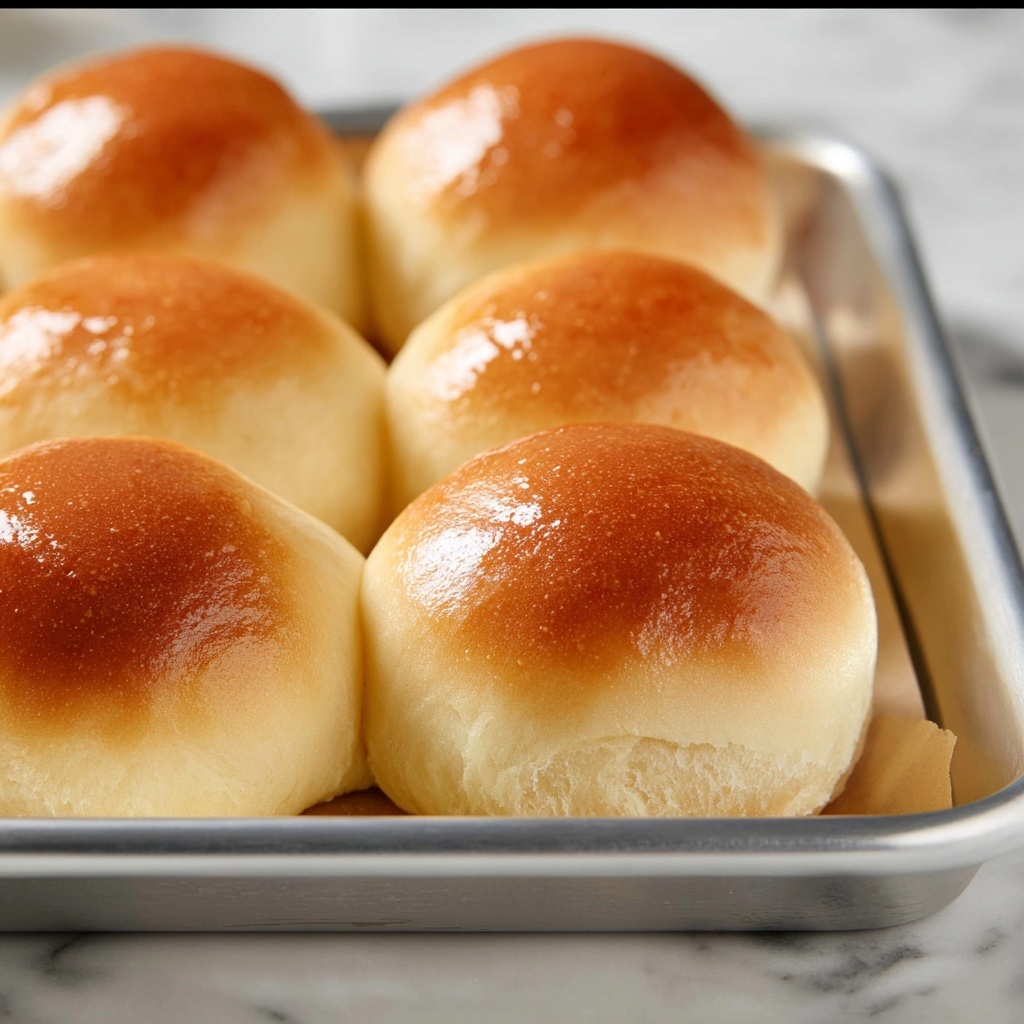
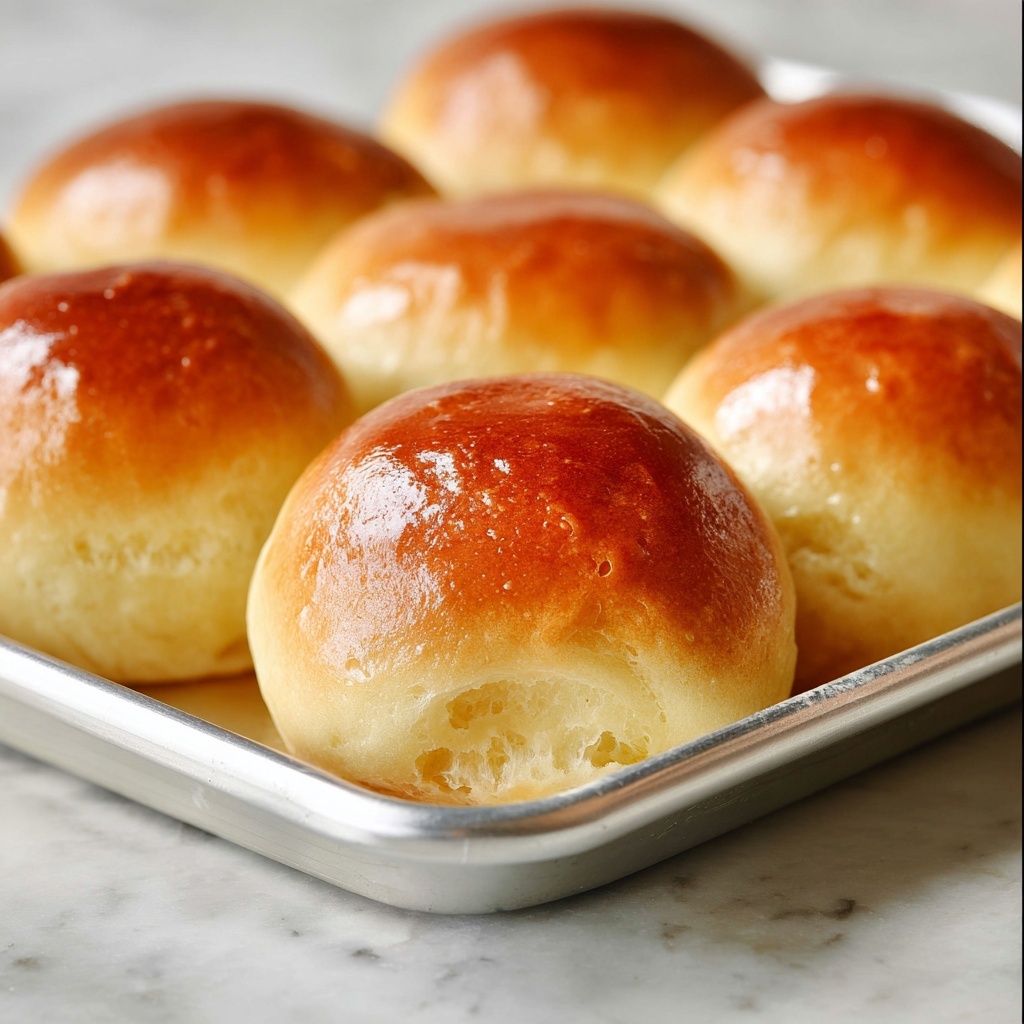
Step 9: Bake to Golden Perfection
Bake your rolls for 20 minutes, or until they develop a beautiful golden brown hue. Once out of the oven, brush them generously with melted butter. This final touch infuses extra flavor and keeps the crust silky and tender.
How to Serve The Best Dinner Rolls Recipe
Garnishes
Serve these warm rolls brushed with extra melted butter or sprinkle with flaky sea salt for a burst of flavor. For a touch of herbaceous fragrance, brush tops with garlic butter or garnish with chopped fresh rosemary or parsley for a bright, fresh twist.
Side Dishes
These rolls are incredibly versatile and pair wonderfully with soups like tomato bisque, hearty stews, or classic roasted chicken dinners. Their softness makes them perfect for sopping up sauces and gravies, making them an indispensable side for any comfort meal.
Creative Ways to Present
For special occasions, arrange the rolls in a circular pattern on a serving platter to create an inviting pull-apart bread centerpiece. You can also slice and make mini sandwiches with ham and cheese or a slather of honey butter to impress your guests.
Make Ahead and Storage
Storing Leftovers
If you have any rolls left, place them in an airtight container or resealable plastic bag at room temperature. They stay fresh for up to 2 days and maintain their softness, perfect for snacking or meals the next day.
Freezing
You can freeze these rolls after baking and cooling completely. Wrap them tightly in plastic wrap and then foil before placing in the freezer. They freeze beautifully and can be kept for up to 3 months, ready to thaw for an instant comfort fix.
Reheating
To bring back that just-baked warmth, gently reheat rolls in a preheated 350-degree F oven for 5-7 minutes or microwave them wrapped in a damp paper towel for 15-20 seconds. Brushing with a little melted butter after reheating adds the perfect finishing touch.
FAQs
Can I use instant yeast instead of active dry yeast?
Yes, you can substitute instant yeast, but reduce the amount slightly and mix it directly with the flour instead of activating it in warm milk first for best results.
What if my dough is too sticky to handle?
A slightly sticky dough is normal for soft rolls, but if it’s too wet to work with, add flour in small increments (up to 1/4 cup) while kneading until it’s manageable but still soft.
Can I make these rolls gluten-free?
This recipe relies on wheat flour for structure, so substituting gluten-free flour would require additional binding agents and adjustments. It’s best to find a specialized gluten-free roll recipe for similar results.
How do I know when the rolls are fully baked?
Look for a golden-brown crust and a hollow sound when tapping the bottom of a roll. A kitchen thermometer reading of around 190 degrees F inside also confirms doneness.
Can I add herbs or cheese to the dough?
Absolutely! Fresh herbs like thyme or rosemary and shredded cheese fold beautifully into the dough, adding an extra flavor punch while keeping the classic soft texture of these rolls.
Final Thoughts
Nothing beats the joy of pulling warm, soft rolls fresh from the oven, especially when they’re made from The Best Dinner Rolls Recipe. Whether it’s a holiday feast or a simple weeknight dinner, these rolls bring that special touch of homemade love that can turn any meal into a celebration. Give this recipe a try, and prepare to create memories around the table with every delicious bite.
Print
The Best Dinner Rolls Recipe
- Prep Time: 20 minutes
- Cook Time: 20 minutes
- Total Time: 3 hours 20 minutes
- Yield: 24 servings
- Category: Bread
- Method: Baking
- Cuisine: American
Description
These soft and fluffy dinner rolls are perfect for any meal, featuring a tender crumb and golden crust. Made with warm milk, butter, eggs, and yeast, they require some rising time but reward you with perfectly baked rolls ideal for family dinners or special occasions.
Ingredients
Dough Ingredients
- 1 ½ cups warm whole milk (105°F), divided
- ¼ cup granulated sugar
- 2 teaspoons active dry yeast
- ½ teaspoon salt
- 5 cups all-purpose flour, divided
- 6 tablespoons salted butter, melted and cooled to room temperature
- 2 large eggs
Instructions
- Activate the yeast: In a small bowl, combine ½ cup of the warm milk, sugar, yeast, and salt. Let it stand for 5 minutes or until the mixture is foamy, indicating that the yeast is active. Stir in ½ cup of the flour and set the mixture aside.
- Mix wet ingredients: In the bowl of a stand mixer fitted with the dough hook, beat the melted butter, eggs, and the remaining 1 cup of warm milk on low speed until well combined.
- Add yeast mixture: Pour the activated yeast mixture into the wet ingredients bowl and continue mixing until fully combined.
- Add flour and knead: Gradually add the remaining flour to the mixture, continuing to mix until the dough starts pulling away from the sides of the bowl. Continue kneading on low speed for 5 minutes. The dough will be slightly sticky; if it’s too sticky to handle, incorporate up to an additional ¼ cup of flour.
- First rise: Lightly spray a large bowl with non-stick spray. Place the dough inside, cover with a clean kitchen towel, and allow it to rise in a warm area until it doubles in size, about 1 to 2 hours depending on the room temperature.
- Shape dough balls: Lightly flour a clean counter and turn out the dough. Divide it into two halves, shaping each into a ball. Cover and let rest for 10 minutes to relax the dough.
- Preheat oven and prepare baking sheet: Preheat your oven to 375°F (190°C) and line a large baking sheet with parchment paper or grease it with non-stick spray.
- Form rolls and second rise: Divide the dough into 24 equal pieces (about 2 ounces each if weighed). Roll each piece into a smooth ball, place them closely together on the prepared baking sheet, cover, and allow to rise until doubled in size, approximately 30 minutes.
- Bake and finish: Bake the rolls in the preheated oven for 20 minutes or until golden brown on top. Upon removal from the oven, brush the tops with melted butter. Serve warm and enjoy your homemade dinner rolls!
Notes
- Ensure the milk is warm (about 105°F) but not hot to activate yeast properly without killing it.
- Do not add too much flour; the dough should remain slightly sticky for a soft texture.
- Allow enough rising time for the rolls to become fluffy and light.
- Brush with melted butter immediately after baking for a shiny, flavorful crust.
- Rolls can be stored in an airtight container and warmed before serving.


